Categories
Mac

How to set an APFS quota to a Time Machine Volume

My main computer is a 2020 M1 Mac mini, which is so small, quiet and cool that I can keep it in a drawer of my desk, which due to me living in a small apartment is located in my bedroom.

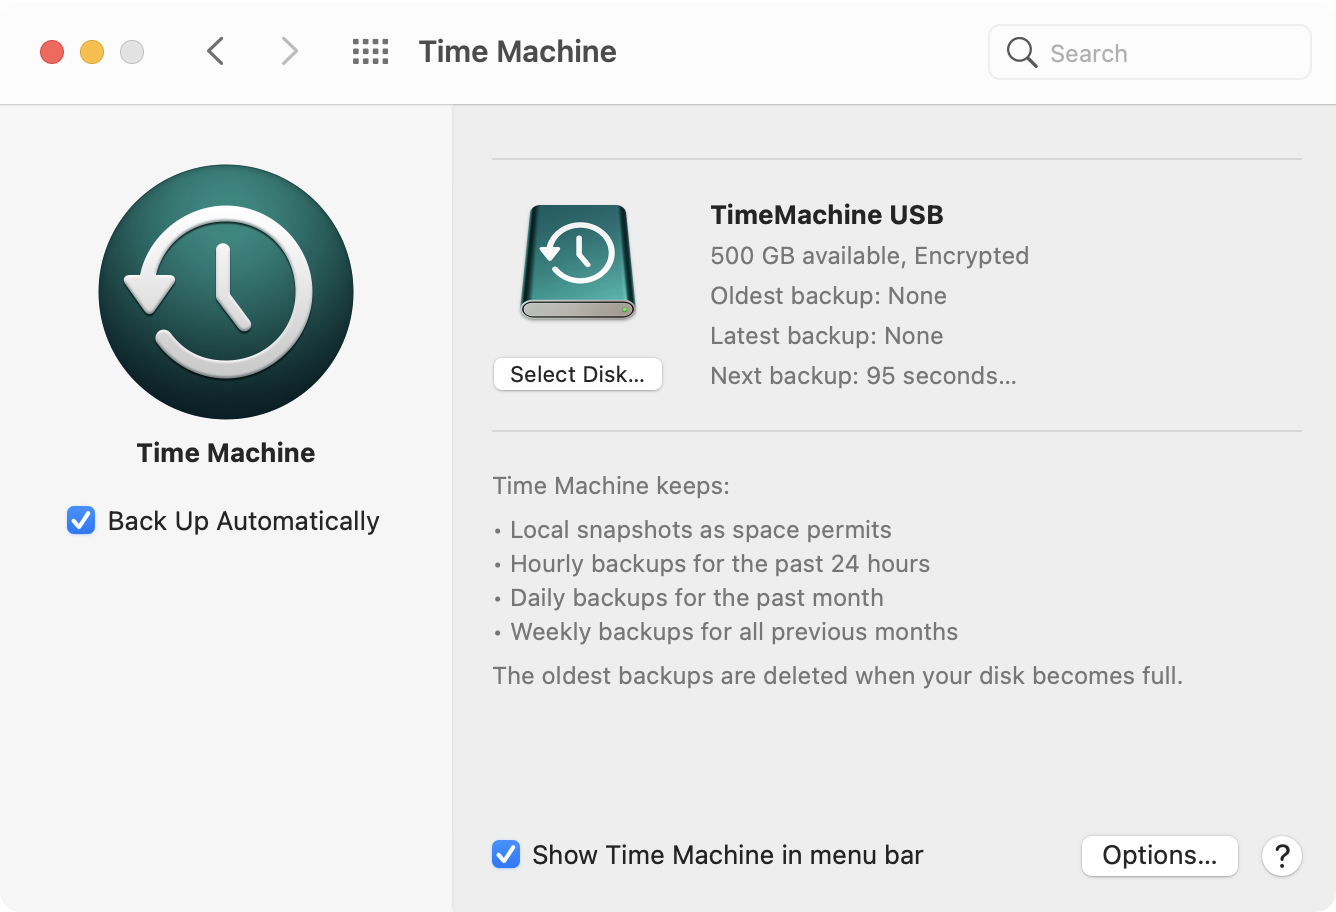
As part of my backup regime, I have an old 2.5” USB drive connected to it for Time Machine. The problem is that often my Mac would wake up in the middle of the night to perform a backup. That is nice, but it also means that the drive would start grinding, sometimes waking me up or preventing me to get asleep in the first place.

I was fed up with it, and I switched to a 1 TB SSD, which is totally silent, just like my Mac.

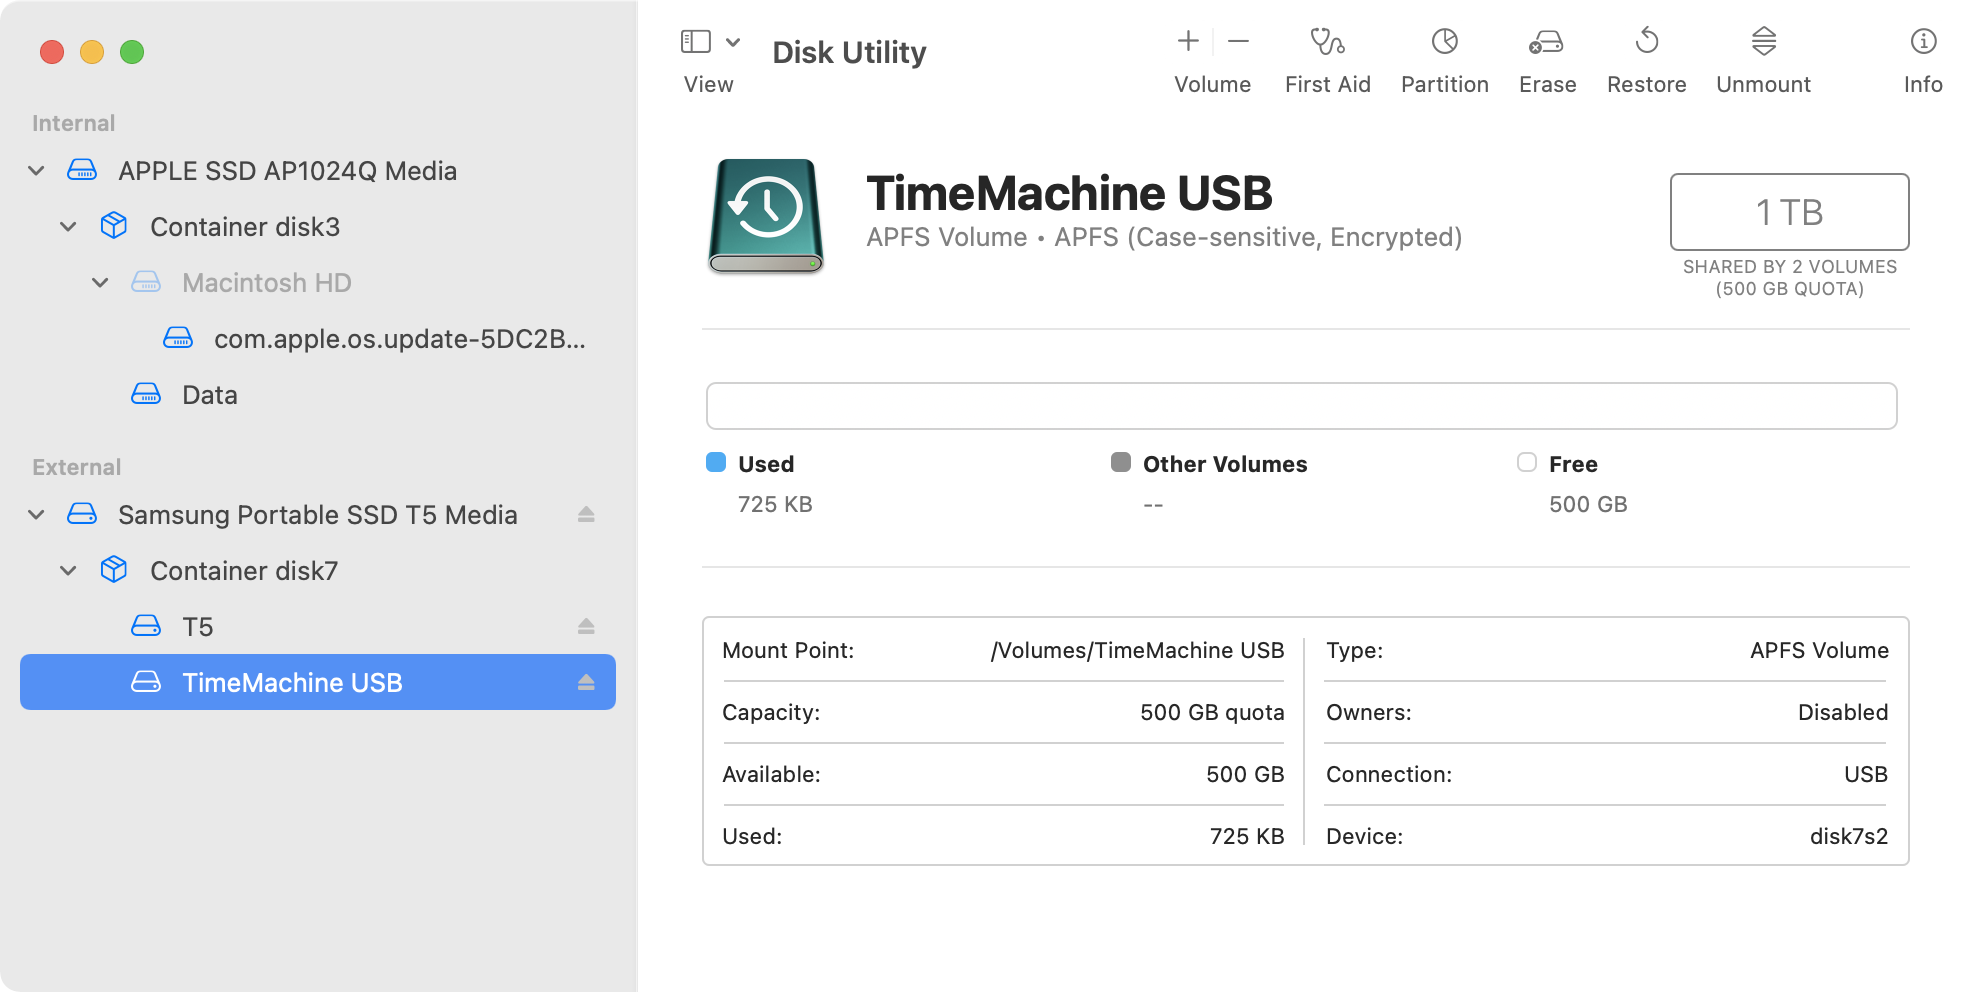
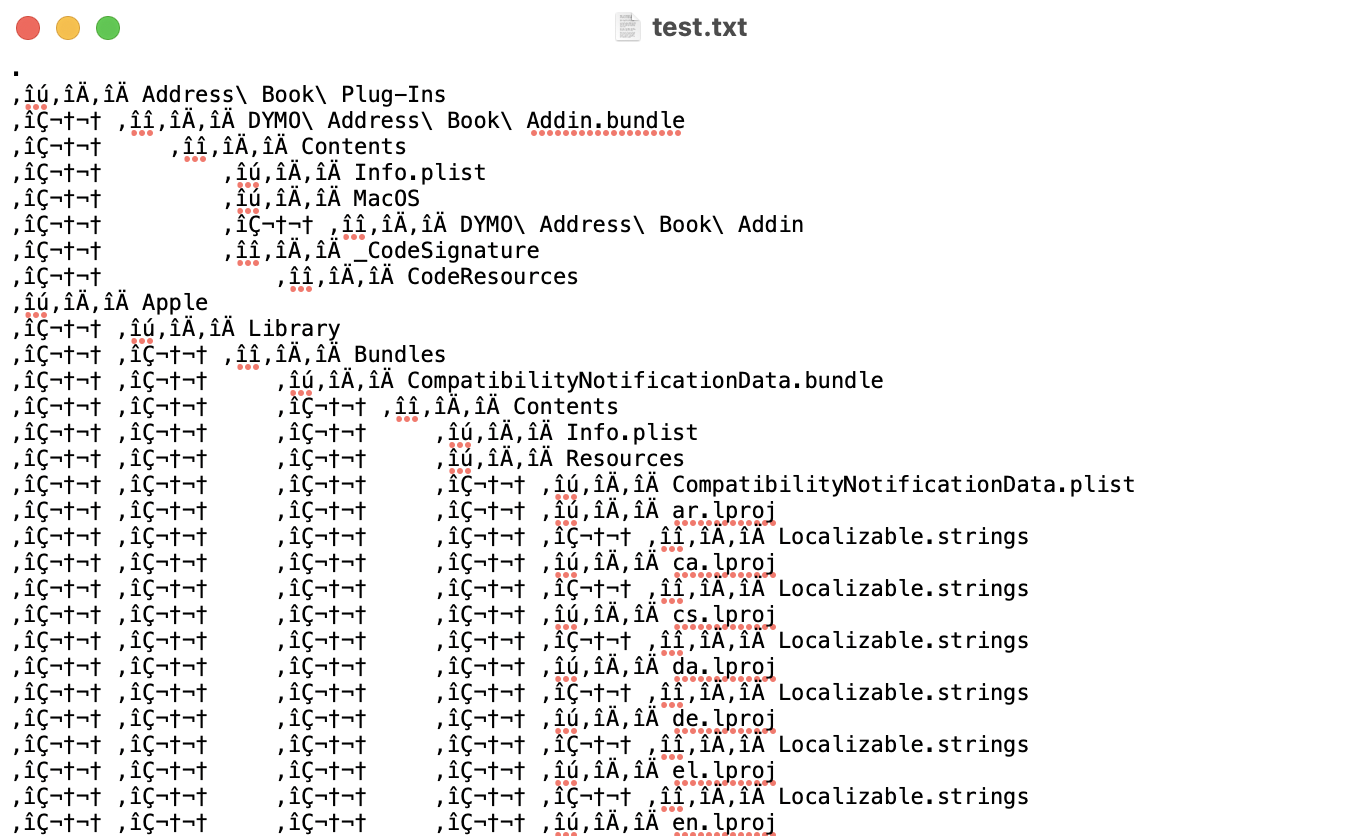
Having an entire drive dedicated to Time Machine only, though, was a bit excessive, and I wanted to be able to keep some files on it as well. I know I could just put them in the same APFS partition Time Machine is using, but given how finicky it can be at times, I preferred leaving it alone and resorting to a nice feature of APFS, which is having different volumes on the same disk. Volumes are not like partition, they are not fixed-size: they share all the available space on the drive. This way you cold have 10 volumes on a single 1 TB drive, and they all would see 1 TB of free space in the beginning.

That is all great, and you can easily add volumes to an APFS drive thorough Disk Utility, you just have to select the drive from the sidebar and click the + button on the tool bar on the right. You also get a handy feature which I wanted to enable for my Time Machine volume: the ability to set a quota for that volume, which is basically a hard limit on the size of that volume. I wanted to make sure Time Machine could use at most 500 GB of the 1 TB, while allowing my data volume to use all the available space if necessary.

Time Machine's preference pane showing the 500-GB volume I created on a 1 TB APFS-fromatted disk

The problem is that when I went to the Time Machine preference pane and selected my newly created volume as its target, it would reformat it and remove its quota, thus giving it the ability to expand to the whole drive. What’s worse, it even erased all the contents of my other volume, which I’m afraid is a bug.

The solution, as always, was to resort to the Terminal. I found my answer in this helpful Stack Exchange thread: you have to add the volume using the diskutil command and applying the T role, which stands for Time Machine and will avoid having to erase the volume after selecting it as the destination drive.

diskutil ap addvolume disk7 APFSX 'TimeMachine USB'  -passprompt -passphraseHint 1Password -quota 500g -role 'T'

You will, of course, need to replace disk7 with your disk identifier (which you can find in Disk Utility or through the diskutil list command). As you can see I’m also encrypting my volume and I am setting an hint, but if you don’t need that and are fine with your backups sitting in the clear on your drive, you can omit the -passprompt and the -passphraseHint options.

Disk Utility showing a 500 GB Time Machine volume on a 1 TB APFS-formatted SSD
Success! Disk Utility is now showing a 500 GB Time Machine volume on a 1 TB APFS-formatted SSD
Categories
Mac

Fix garbled output of the tree command on macOS

Recently I had the need to produce a text file containing the directory structure of a folder and all its content.
The tree command is just what I needed. A quick brew install tree installed it on my Mac.

One would think that it would just be a matter of running

tree /path/to/folder > /path/to/tree.txt

That’s true, for small directories (or those with no special characters?), for others I get this lovely crap:

Screwed up oupput of the tree command on macOS

Turns out the fix is pretty easy (altough you loose non ASCII characters in file names):

LC_ALL=C tree /path/to/folder > /path/to/tree.txt
Categories
FreeBSD Linux Mac

BASH: Capturing both the output and the exit code of a process

Of course I found an answer to this in a collection of Stack Overflow questions, but to make things easier for anybody who might stumble into this post (and mainly for Future Me), here’s the answer.

Seriously, don’t do this.

Basically I have a command that sometimes produces an error, but usually just re-running it produces the correct output. When it encounters an error, it dutifully sets its error code to something other than 0 (success). But how to I capture both the command’s output and its exit code? This way.

output=$(myCommandWhichSometimesDoesntWork)
exit_code=$? # This HAS to be exeuted right after the command above

So I made a little wrapper script that repeatedly calls the first one until it gets an answer, with a set maximum number of retries to avoid infinite loops.

#!/bin/bash
retries=0
max_retries=10 # Change this appropriately
 
# The "2> /dev/null" silences stderr redirecting it to /dev/null
# The command must be first executed outside of the while loop:
# bash does not have a do...while construct
output=$(myCommandWhichSometimesDoesntWork 2> /dev/null)
while [[ $? -gt 0 ]]
do
        ((retries++))
        if [[ retries -gt max_retries ]]
        then
                exit 1
        fi
 
        output=$(myCommandWhichSometimesDoesntWork 2> /dev/null)
done
 
echo $output
Categories
Mac

Display the currently playing track in iTunes/Spotify on the Touch Bar

Ever since I got my 2016 15″ MacBook Pro with Touch Bar, I wanted to have it show one thing: the currently playing track. Today, thanks to the amazing Better Touch Tool and some Apple Script (which I don’t like, but it gets the job done), I finally have that functionality.

It’s really easy:

  1. Open Better Touch Tool and click on the Touch Bar section.
  2. Add a widget and select the “Run Apple Script and Show Return Value” option.
  3. Click on the “Advanced Configuration” button and paste the relevant Apple Script (see below).
  4. Optional: set the Predefined Action to “Open Application / File / Apple Script …” and select iTunes/Spotify: this will always bring iTunes/Spotiy to the foreground when you tap the widget.
  5. Optional: set the iTunes/Spotify icon as the widget’s icon (You can right click on the .app bundle, click on “Show Package Contents”, then go to Contents/Resources. The icones are respectively iTunes.icns and Icon.icns, just drag them over their spot in BTT.)

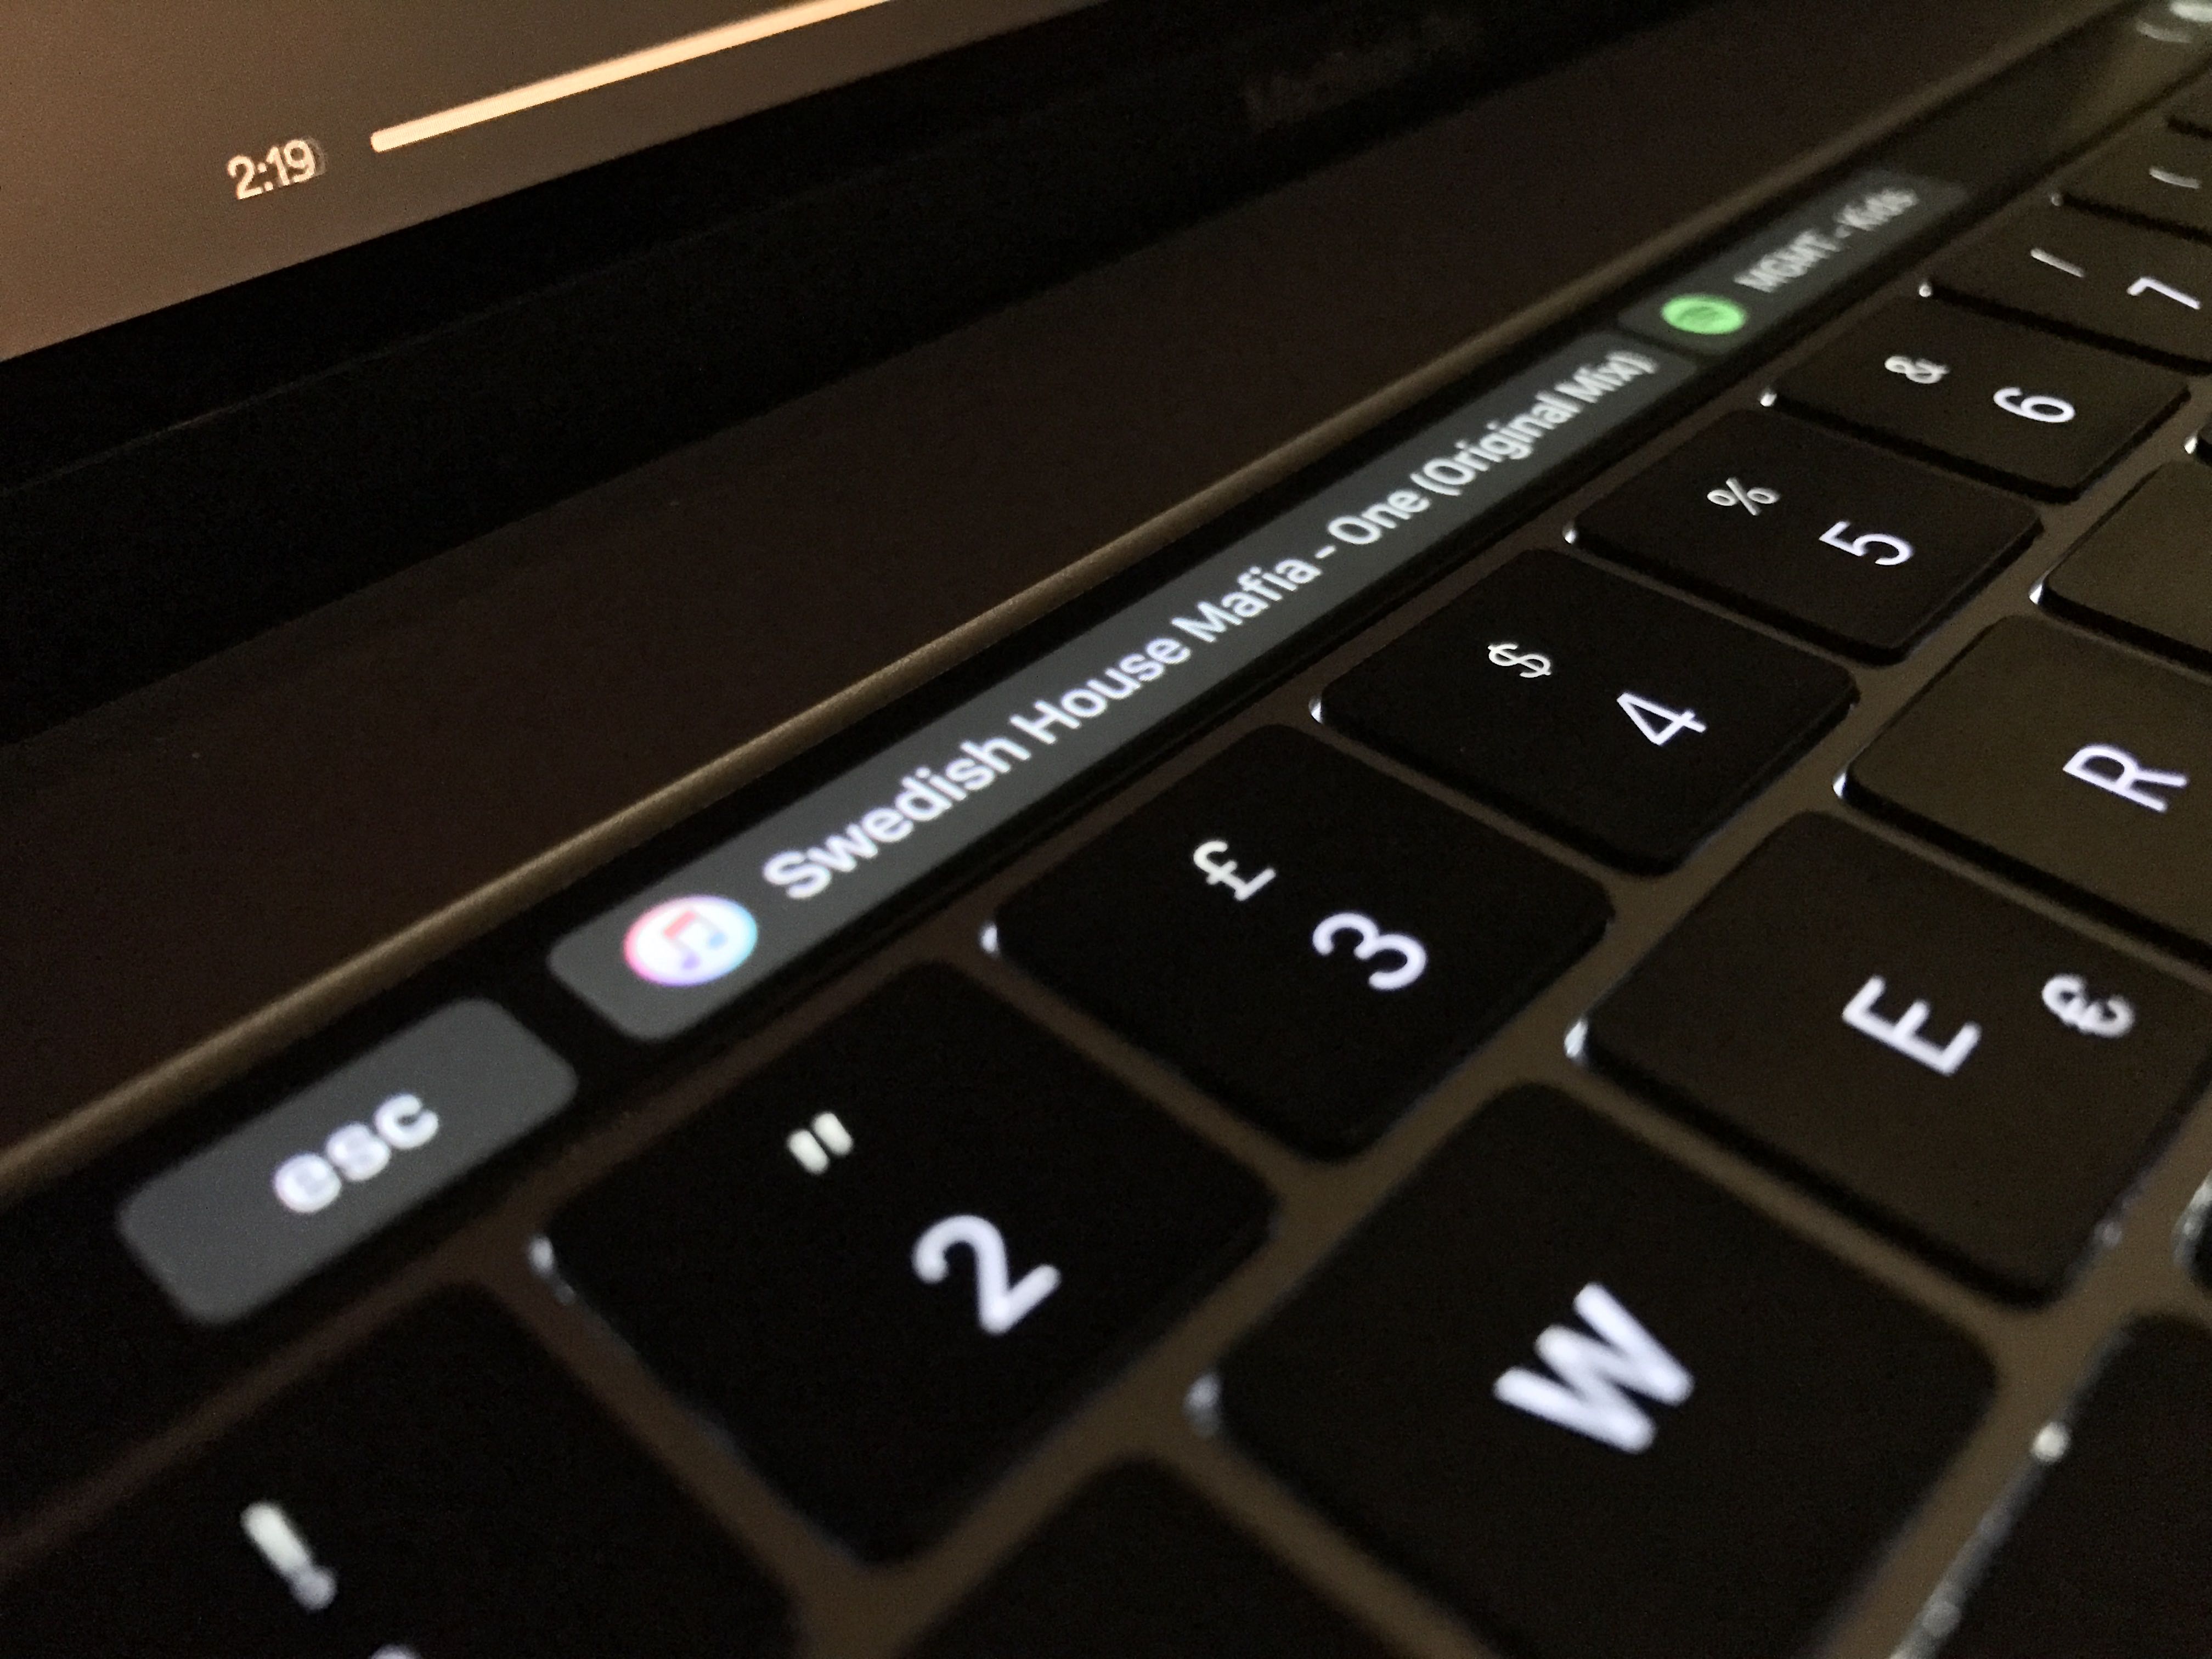
Here is the script for iTunes:

And here is the one for Spotiy:

The only difference between the two is the name of the app in the first if and in the tell statement.

Better Touch Tool hides the widget if the Apple Script returns nothing (which is the case when the music is paused or when the iTunes/Spotify are closed): you can work that around by replacing the two return "" with return " ", i.e. returning a space when nothing is playing. It’s not very aesthetically pleasing on the Touch Bar because the button is asymmetric, but you can do that if you prefer it that way.

Categories
Mac

Force standard RGB out over HDMI on macOS

I own a 27-inch Philips Brilliance 272C monitor, which features both DisplayPort and two HDMI ports, both supporting the full 1440p resolution at 60 Hz.
DisplayPort has always been literally plug-and-play, and I have always used it to connect the monitor to my Mac. In fact, it was the only way I could have get full resolution on my old 2010 15″ MacBook Pro.

Yep, that’s totally my desktop

Last year my brother got a 2015 13“ Retina MacBook Pro, and I noticed that when using HDMI to connect to the screen the image would be not nearly as good as over DisplayPort, colors were off and there was even some sort of ”ghost” of the current picture shifted a few pixels.

I finally decided to look for the cause of this and I narrowed it down to one thing: for some reason macOS thought the monitor was a TV (?) and it spit out a weird color mode instead of regular RGB, which resulted in the crappy image quality.

I got to this conclusion through Mathew Inkson’s great post on this matter, and ran the script by Andrew Dagherty he linked.
Basically the script generates an override file that needs to be placed into /System/Library/Displays/Contents/Resources/Overrides (which by the way requires you to disable SIP), which forces macOS to output the correct RGB color mode.

For some reason, though, it didn’t work for my monitor, it looked like the override never got loaded by macOS. Upon further inspection of the plist file generated by the script, I noticed that there were a weird character in the screen name, which made the whole file invalid (you can see it in the screenshot below).


I simply edited it and removed the garbage it spit there (definitely the screen’s fault, though, not the script’s), rebooted, et voilà, everything worked fine and the image was perfect both through DisplayPort and HDMI.

I can also confirm that the same workaround works perfectly with my shiny new 2016 15″ MacBook Pro through this cheap USB-C to HDMI adapter by VTIN.

If someone has the exact same monitor, I have uploaded the override files here. Just extract the DisplayVendorID-410c folder you find in the zip file to /System/Library/Displays/Contents/Resources/Overrides (again, you will have to temporarily disable SIP or proceed thorugh alternative methods to write at that path).

Categories
Mac

Check macOS installer build

My new 15″ MacBook Pro is coming this week, and due to multiple reports of units shipping with SIP (System Integrity Protection) disabled I wanted to play it safe and immediately wipe the new machine with a clean install of macOS from a thumbdrive. The question was, however: is the build of macOS currently on the Mac App Store the most recent one that supports the new MBPs (10.12.1 build 16B2657)?

Screenshot of Terminal showing the commands to run

Finding out is not that easy, actually. First you’ll want to download macOS from the Mac App Store, then open the terminal and launch a few commands to mount the nested DMGs you donwloaded with the installer, and then check a plist file:

hdiutil attach /Applications/Install\ macOS\ Sierra.app/Contents/SharedSupport/InstallESD.dmg
hdiutil attach /Volumes/OS\ X\ Install\ ESD/BaseSystem.dmg
cat /Volumes/OS\ X\ Base\ System/System/Library/CoreServices/SystemVersion.plist

Just make sure paths are correct.

Attaching the DMGs might take a while, as they need to be verified first. You can skip the verification process by putting -noverify between attach and the file path.

You should get something like this:

<?xml version=“1.0” encoding=“UTF–8”?>
<!DOCTYPE plist PUBLIC “-//Apple//DTD PLIST 1.0//EN” “http://www.apple.com/DTDs/PropertyList–1.0.dtd”>
<plist version=“1.0”>
<dict>
 <key>ProductBuildVersion</key>
 <string>16B2657</string>
 <key>ProductCopyright</key>
 <string>1983–2016 Apple Inc.</string>
 <key>ProductName</key>
 <string>Mac OS X</string>
 <key>ProductUserVisibleVersion</key>
 <string>10.12.1</string>
 <key>ProductVersion</key>
 <string>10.12.1</string>
</dict>
</plist>

You can clearly see that ProductVersion is 10.12.1 and ProductBuildVersion is 16B2657.

Categories
Mac

Foscam Safari plugin and macOS Sierra, High Sierra and Mojave

foscam-logoI’ve had two Foscam security cameras (model FI9805W) for a few years, and I’ve been able to view their image and adjust their settings with no problems using the official plugin in Safari, which worked fine on Sierra too.
However, I recently purchased a third camera (model FI9828P V2), and its plugin didn’t work with macOS Sierra.

Thankfully, I stumbled upon a post in the Foscam forums that provided a working version of the plugin. I took the liberty of uploading to my blog as well, you can download it from here (here you can find an older version).

UPDATE for macOS High Sierra

The plugin still works with macOS High Sierra, but I found a newer version that works with more cameras, including the FI9851P V3 which I recently purchased.

UPDATE for Safari 12 and macOS Mojave

Foscam has published a new, different kind of plugin that works with Safari 12 and macOS Mojave. Newer firmwares for newer cameras link to this plugin (my FI9900EP does, for example) when trying to access their web UI from Safari. Their SSL certificate is broken but other than that the plugin installs and works just fine. Again, I’m mirroring the installer here for posterity.

Alternative solution for Safari 12 and macOS Mojave

Foscam’s VMS app works fine, is a native Mac app and seems to have most of the features the web UI had (for example PTZ controls on my FI9828P V2 seem to be missing/not functional, I’ll have to investigate further on that).

  1. Install the app
  2. Launch it
  3. Login as admin with no password
  4. Add your cameras
  5. Enjoy!

I took the liberty to mirror the app here on my blog, in case it should no longer be available from Foscam in the future.

Categories
Mac

Throttling iCloud’s upload: here is the IP subnet

TL;DR 54.231.0.0/16

For those of us with limited upload bandwidth, just plugging an iPhone in for a charge while on home wifi can bring our connection to its knees. As convenient as automatic online backups are, they tend to monopolize all the available bandwidth, and saturating your upload means crippling the download as well (it has to do with buffer bloat, delayed ACKs, and other stuff).

iCloudThrottle

Through some Google-fu I found (one of) the subnet(s) used by iCloud, so that I can easily throttle the upload traffic without imposing a limit on all the upload coming from iOS devices. The subnet is 54.231.0.0/16.

Thanks to my pfSense router, I put together a nifty set of rules that throttles uploads to that subnet from 8 am to midnight, limiting it to 50% of my available bandwidth. During the night, it is unlimited.

Just a quick overview of what’s needed to do that on pfSense (not a full tutorial, sorry):

  • A schedule that defines the times you want the limit to be enabled
  • Trafic shaping with a dedicated upload queue with a fixed maximum rate, in addidition the default ones
  • A floating rule of type Pass, applied on both WAN and LAN, TCP protocol, destination 54.231.0.0/16, active during the day, sent to the queue you created earlier w/ the limit enabled.

Actually I have 2 schedules, one for the day and the other for the night, an additional queue for unthrottled iCloud backups and an additional floating rule that is identical to the one above apart from the fact that it is enabled during the night and sends traffic to the unthrottled queue. This allows me to have nice graphs that show only iCloud traffic. Definitely not necessary, but cool.

pfSenseQueues

Categories
Mac

Add SSL support to podPress

podPress is a dead WordPress plugin that makes it easy to publish podcasts using WordPress, and I still use it on my podcast network, EasyPodcast. That is going to change once we deploy my own, custom built CMS, but I still have to use it for the time being.
podPress HTTPS
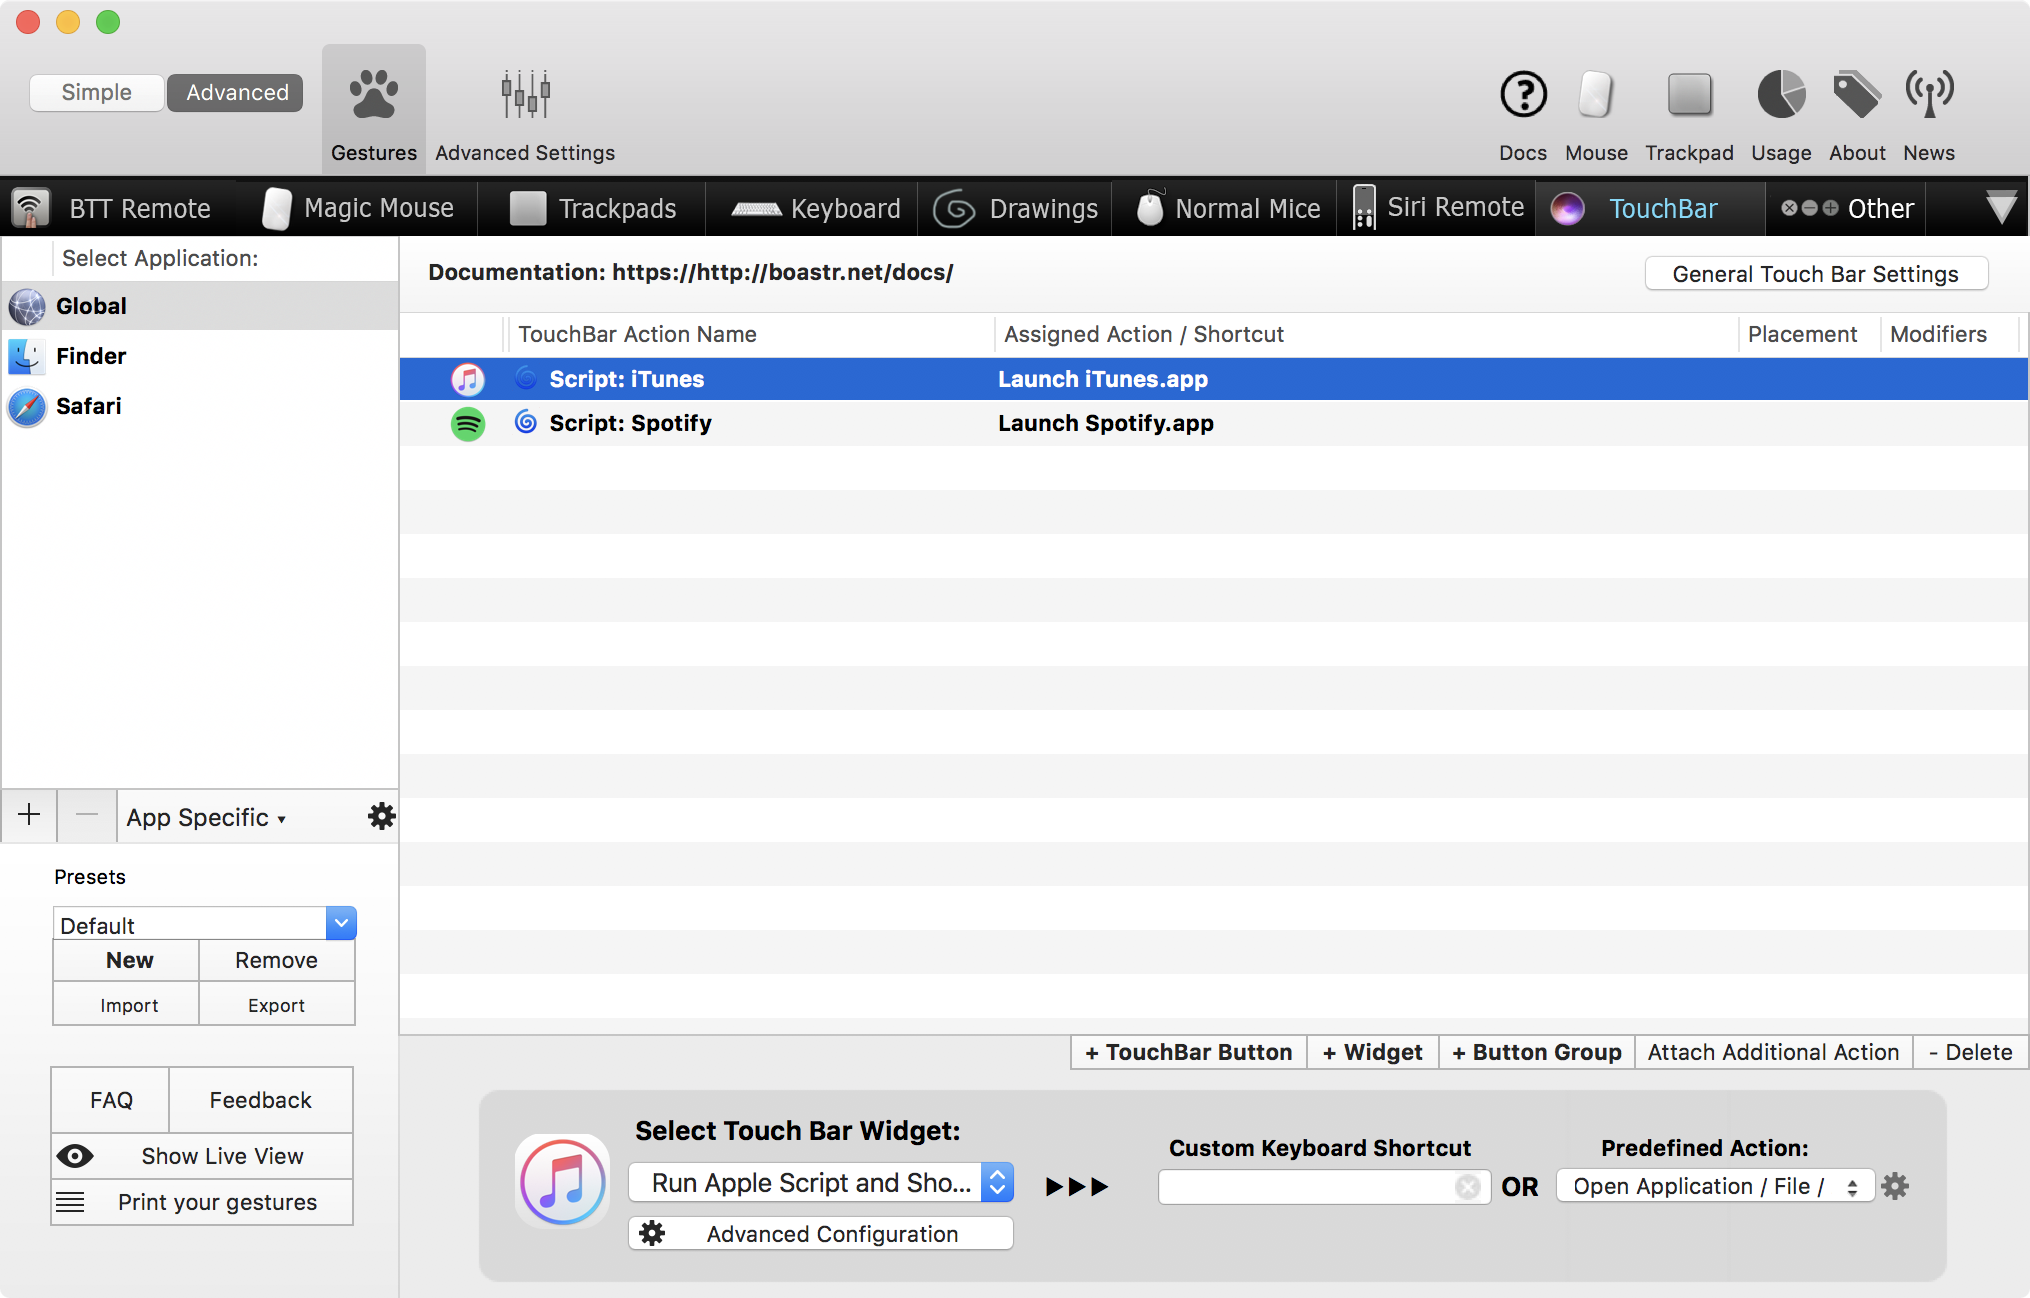
This week I switched everything to HTTPS, feeds and media delivery included, and podPress started having issue in detecting the episode mp3’s file size and duration when I provided either an http or https link to the file.

This is due to a couple issues: it wasn’t recognizing HTTPS URLs, since it had an hard-coded check to make sure they were served over HTTP (I can see the point: you wouldn’t want to serve podcasts over FTP). Once I patched this, the file size detection started working again (it just reads the content-length HTTP header).

I was still experiencing issues getting the mp3’s duration: to do so, podPress downloads the mp3 (with curl, since it’s available on my server) and analyzes it using the getID3 library. However, I found out that for some reason the download file had the HTTP headers prepended to its contents, so the library couldn’t properly parse the mp3. It was due to a curl option in the code that enables that behavior. Why that was added to podPress and why it wasn’t an issue over HTTP is beyond me.

The two changes I made are both in the podpress_admin_functions.php file, and involved lines 1028 (to allow SSL) and 1618 (to prevent HTTP headers from being written to the file).

Here’s the diff file.

Categories
Mac

Enable Guest Network on AirPort Basestations in Bridge Mode

TL;DR AirPort Basestations in Bridge Mode support the creation of Guest Networks, and all their traffic gets sent to VLAN 1003 on the Ethernet side.

I have a couple 5th-gen Apple AirPort Extreme Basestations in my house that I use to provide wifi access, together with a couple cheap TP-Link TL-WR841ND flashed with DD-WRT, and I run them all in bridge mode, as I don’t need their routing capablities. I rely on my PC-Engines Alix 2d2 running pfSense to be my router, so I just need wifi access points, not full-blown wireless routers.

One nice feature that you get if you do run AirPort Basestations as routers is the ability to have a completely isolated wifi network for guest use, that gets internet access but does not allow communication with devices on your private LAN.

Due to what I think is a bug in AirPort Utility, you can enable the guest network even when running your AirPort in bridge mode, the network is created and you can connect to it, but it looks like it doesn’t work: you don’t get an IP through DHCP, and any traffic seems to end nowhere.

After some Googling and Wiresharking, I found out that what actually happens is that AirPorts funnel all the guest network traffic to VLAN 1003, so if you have network equipment that is able to deal with VLANs you can actually use both Bridge Mode and Guest Network at the same time.

Luckily enough, my pfSense-based router is more than capable to do that, so I set up a Guest Interface on VLAN 1003, configured the DHCP server to assign addresses on that interface (on 10.10.10.0/24, while my main LAN runs on 192.168.1.0/24) and set up firewall rules to only allow traffic to the internet, and not to my LAN or other local subnets (such as my VPNs, and a second LAN I run on a different VLAN).