Categories
Linux

GRUB: unknown filesystem on ZFS-based Proxmox

Error: unknown filesystem.
grub rescue>

This was the nice error that greeted me when I tried to (re)boot my Proxmox server.
What unknown filesystem? The server was still supposed to boot from the same ZFS disk it always booted from.

TL;DR it was due to the large_dnode getting enabled on a dataset I had manually created. GRUB does not support that feature. Create a new dataset with that feature explicitly disabled, move the data to it, delete the original and rename the new one. Done.

Some background

Being space-constrained in my apartment, my Proxmox server is actually my everything server. It is my virtualization server, my router (it runs pfSense in a VM) and my NAS (it runs Samba in an LXC container).

For NAS duties, I decided a while back to create a dedicated dataset rpool/nas, which I then mounted in the Samba container. Without much thinking, I just ran a simple:

zfs create rpool/nas

Due to ZFS defaults, it had the feature dnodesize set to auto. It was never an issue, until the other day.

What happened

Some file must have triggered a non-legacy (512 bytes) dnode size in the dataset, which meant that GRUB could no longer read the drive.

I came to that conclusion by installing Proxmox in a VM on my Mac (with an ext4 boot drive, to avoid having to rename the pool), and attaching the server’s SSD through a SATA-USB adapter.

I changed the mountpoint of my server’s boot partition from / to /recovery, mounted /dev /sys and /proc in there and then chrooted into /recovery:

zfs set mountpoint=/recovery rpool/ROOT/pve-1
mount --rbind /dev /recovery/dev
mount --rbind /sys /recovery/sys
mount -t proc /proc /recovery/proc
chroot /recovery

I ran grub-probe -vvvv / to get some insight on why GRUB was failing and one line was interesting:

grub-core / fs / zfs / zfs.c: 2112: zap: name = org.zfsonlinux: large_dnode, value = 1, cd = 0

I read a bit online and I found out about the dnodesize thing. I usually like to link back to all the places that were useful to find a solution to any problem I blog about, but this time it was just too difficult to keep track of everything, except for this discussion on the german Proxmox forums.

The solution

I ran zfs get -r dnodesize rpool to get a sense of what were the different dnodesize values for all the datasets in the pool. They were all set to legacy, except for my rpool/nas dataset.
So I made a new dataset for my NAS data with dnodesize explicitly set to legacy, then I rsync’d everything from the old dataset into the new one, destroyed the old dataset and renamed the new one.

zfs create -o dnodesize=legacy rpool/nas2
rsync -av --progress /rpool/nas/ /rpool/nas2/
zfs destroy rpool/nas
zfs rename rpool/nas2 rpool/nas

Last step: moving back the mountpoint for `rpool/ROOT/pve-1`:

zfs set mountpoint=/rpool/ROOT/pve-1

And then I moved the SSD back into my server.

That’s it. It just took an afternoon of cursing.
Categories
Linux

Moving Proxmox ZFS boot drive to a new disk

When I assembled my little Proxmox home server, mainly used for pfSense, Home Assistant, Nextcloud and a few other apps, I underestimated the amount of storage I needed. I went with a cheap 120 GB SSD, but it was pretty much always full. I then found a deal on a 960 GB Kingston A400 SSD, so I got it.

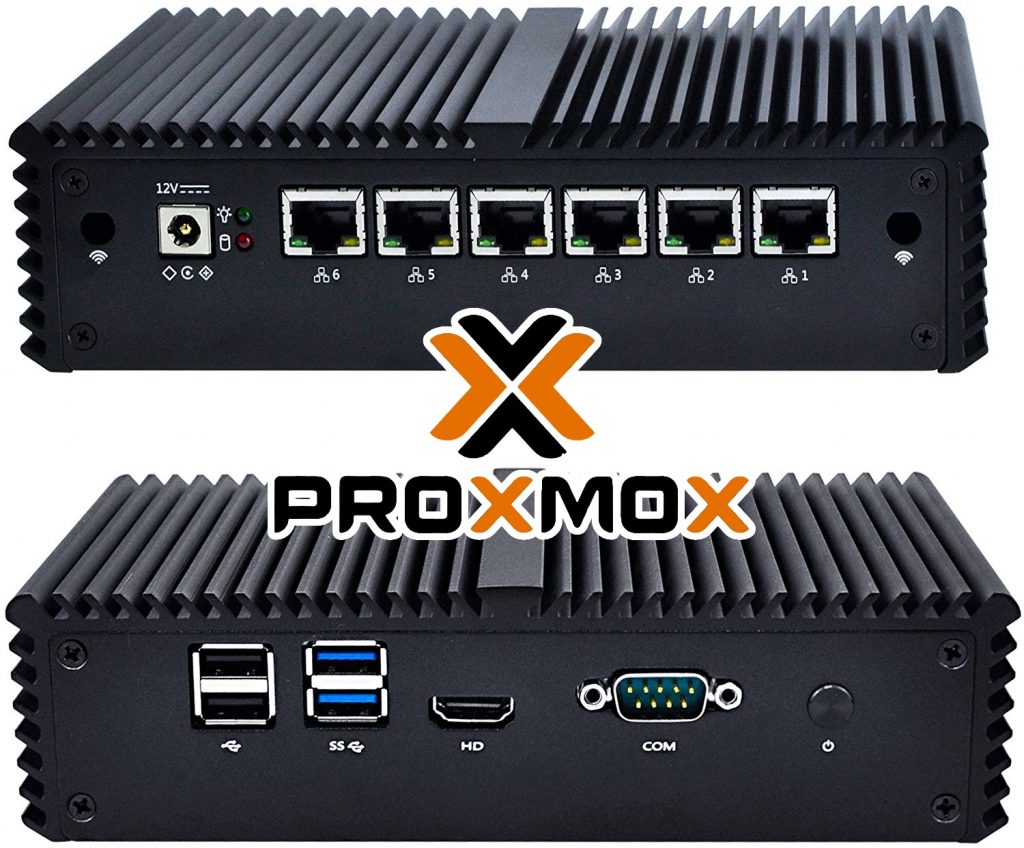
My Kettop Mi3865L6 runs Proxmox on ZFS

The thing is I didn’t really want to go through a complete reinstall of Proxmox, restore of my VMs/CTs and reinstallation of Zabbix Agent on the host itself. Thankfully, my whole drive is ZFS formatted, so I have access to the great zfs send and zfs receive commands to move stuff around.

The steps

  1. Connect the SSD with a USB-SATA adapter to a Virtual Machine running on my Mac, and install Proxmox on it. This takes care of the GRUB bootloader.
  2. On the main Proxmox install, shutdown all CTs and VMs, and take a snapshot
  3. Connect the drive to Proxmox and import the pool with a different name
  4. ZFS send/receive the snapshot (recursively) to the new pool
  5. Export the pool
  6. Shutdown Proxmox and swap the drives
  7. Power on Proxmox, fix the pool name, reboot
  8. Fix the bootloader and initial ramdisk
  9. Profit (?)

1. Proxmox install on the new SSD

So the first step is to install Proxmox on the new SSD, and the easiest thing I could think was to use a simple USB3 to SATA adapter to connect it to my Mac, and then pass it to a VM in Parallels with the Proxmox ISO mounted. I then proceded with a regular install, choosing ZFS as the SSD’s filesystem. I could have done it all on a VM on the Proxmox server, but I didn’t bother.

2. Snapshot the old drive

Then I moved to the Proxmox server, shut down every VM and every CT, and took a recursive snapshot of the main pool (rpool is the default pool name on Proxmox):

sudo zfs snapshot -r rpool@newSSD

3. Connect the new SSD to Proxmox

After shutting down the VM I used to install Proxmox on the new SSD, I moved the USB3-SATA adapter to the Proxmox server.

First I needed to import the pool with a new name (rpoolUSB), since of course rpool was already taken.

sudo zpool import -d /dev
sudo zpool import [ID-OF-THE-POOL-ON-THE-NEW-SSD] rpoolUSB

4. Clone the old SSD onto the NEW one

Having just taken the snapshot on the old drive, It was just a metter of a ZFS send/receive, with the -F to overwrite the pool. This operation left the bootloader intact, which is great.

 sudo zfs send -R rpool@newSSD | sudo zfs recv -F rpoolUSB

5. Export the new pool

sudo zpool export rpoolUSB

6. Shutdown Proxmox and swap the drives

Connect a display to your Proxmox server if you don’t have one, or connect through KVM if your server has IPMI capabilities.

7. Fix the pool name

Remember how we renamed the pool to rpoolUSB in step 3? Proxmox doesn’t like that. Or rather, it doesn’t know about that. So the boot process with fail leaving you at a Busybox shell. Just import the pool giving it the usual rpool name and exit.

zpool import -d /dev
zpool import rpoolUSB rpool
exit

8. Fix the bootloader and initial ramdisk

The boot process now works fine, but it complains about some missing things. What’s needed is a fix of the initial ramdisk and possibly of the GRUB bootloader, I did both just to be on the safe side.

sudo update-grub2
sudo update-initramfs -u -k all

9. Profit

Let me know if you actually profited from this. I think you owe me 1% of your profits 😁

Categories
FreeBSD Linux

Improve FreeNAS NFS performance when used with Proxmox

TL;DR: zfs set sync=disabled your/proxmox/dataset

Lately I’ve been playing around with Proxmox installed on an Intel NUC (the cleverly named NUC6CAYH, to be precise), and I must say it is really, really, cool.

I usually store my containers and VMs on the local 180 GB SSD that used to be in my old MacBook Pro, since it’s reasonably fast and it works well, but I wanted to experiment with NFS-backed storage off my FreeNAS box (4x4TB WD Reds in RAIDZ1, 16 GBs of RAM, an i5–3330 processor).

Frankly, I was pretty unsatisfied with the performance I was getting. Everything felt pretty slow, especially compared to the internal SSD and, surprisingly, to storing the same data on a little WD MyCloud (yes, the one with the handy built-in backdoor).

My very unscientific test was creating a fresh container based on Ubuntu 16.04, and upgrading the stock packages that came with it. As of today, it meant installing around 95 MB’s worth of packages, and a fair bit of I/O to get everything installed.

The task was completed in around 1’30″ with the container on the internal SSD, 2’10″ on the WD MyCloud, and an embarassing 7’15″ on the FreeNAS box.

After a bit of googling, I came to an easy solution: set the sync property of the ZFS dataset used by Proxmox to disabled (it is set to standard by default).

The complete command is zfs set sync=disabled your/proxmox/dataset (run that on FreeNAS as root or using sudo).

To be honest, I don’t really know the data-integrity implications of this flag: both machines and the switch between them are protected from power failures by two UPSs, so that shouldn’t be much of an issue.

Anyway, just changing that little flag signlificantly reduced the time required to complete my “benchmark”, bringing it down to around 1’40″, very close to Proxmox’s internal SSD. Again, at the moment I don’t really need to run VMs/CTs off the FreeNAS storage, but it is good to know that it is possible to achieve much faster performance with this little tweak.