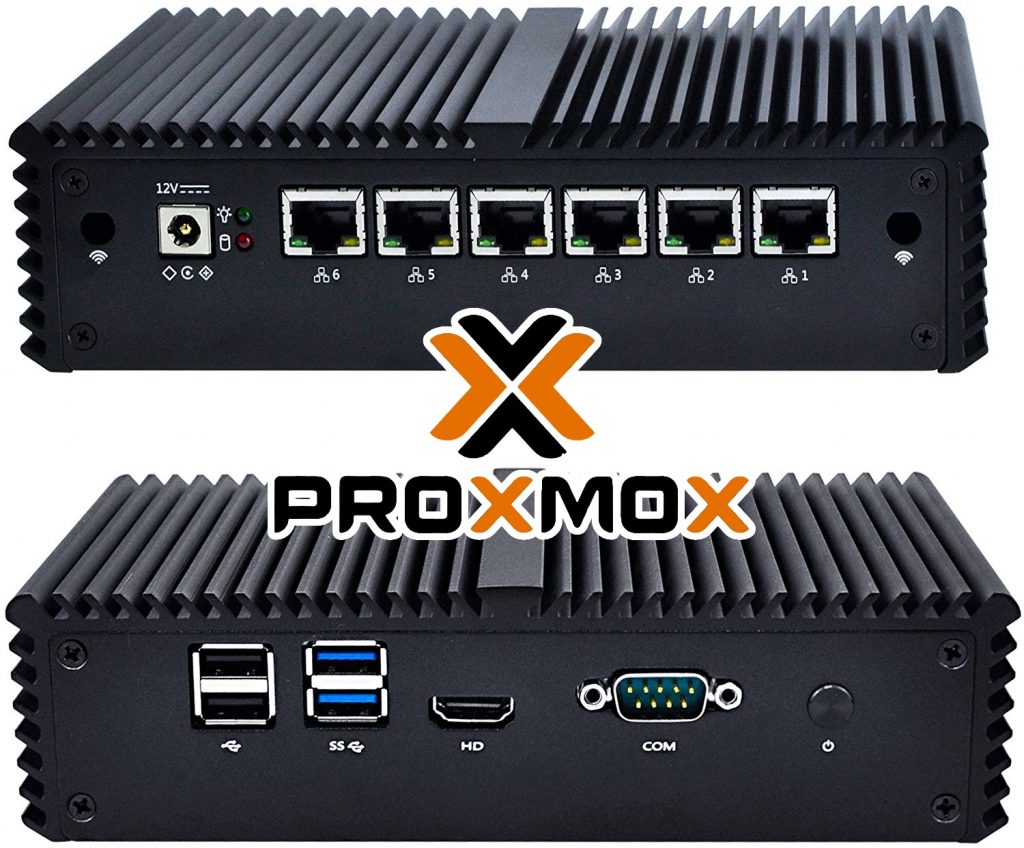
When I assembled my little Proxmox home server, mainly used for pfSense, Home Assistant, Nextcloud and a few other apps, I underestimated the amount of storage I needed. I went with a cheap 120 GB SSD, but it was pretty much always full. I then found a deal on a 960 GB Kingston A400 SSD, so I got it.

The thing is I didn’t really want to go through a complete reinstall of Proxmox, restore of my VMs/CTs and reinstallation of Zabbix Agent on the host itself. Thankfully, my whole drive is ZFS formatted, so I have access to the great zfs send and zfs receive commands to move stuff around.
The steps
- Connect the SSD with a USB-SATA adapter to a Virtual Machine running on my Mac, and install Proxmox on it. This takes care of the GRUB bootloader.
- On the main Proxmox install, shutdown all CTs and VMs, and take a snapshot
- Connect the drive to Proxmox and import the pool with a different name
- ZFS send/receive the snapshot (recursively) to the new pool
- Export the pool
- Shutdown Proxmox and swap the drives
- Power on Proxmox, fix the pool name, reboot
- Fix the bootloader and initial ramdisk
- Profit (?)
1. Proxmox install on the new SSD
So the first step is to install Proxmox on the new SSD, and the easiest thing I could think was to use a simple USB3 to SATA adapter to connect it to my Mac, and then pass it to a VM in Parallels with the Proxmox ISO mounted. I then proceded with a regular install, choosing ZFS as the SSD’s filesystem. I could have done it all on a VM on the Proxmox server, but I didn’t bother.
2. Snapshot the old drive
Then I moved to the Proxmox server, shut down every VM and every CT, and took a recursive snapshot of the main pool (rpool is the default pool name on Proxmox):
sudo zfs snapshot -r rpool@newSSD
3. Connect the new SSD to Proxmox
After shutting down the VM I used to install Proxmox on the new SSD, I moved the USB3-SATA adapter to the Proxmox server.
First I needed to import the pool with a new name (rpoolUSB), since of course rpool was already taken.
sudo zpool import -d /dev
sudo zpool import [ID-OF-THE-POOL-ON-THE-NEW-SSD] rpoolUSB
4. Clone the old SSD onto the NEW one
Having just taken the snapshot on the old drive, It was just a metter of a ZFS send/receive, with the -F to overwrite the pool. This operation left the bootloader intact, which is great.
sudo zfs send -R rpool@newSSD | sudo zfs recv -F rpoolUSB
5. Export the new pool
sudo zpool export rpoolUSB
6. Shutdown Proxmox and swap the drives
Connect a display to your Proxmox server if you don’t have one, or connect through KVM if your server has IPMI capabilities.
7. Fix the pool name
Remember how we renamed the pool to rpoolUSB in step 3? Proxmox doesn’t like that. Or rather, it doesn’t know about that. So the boot process with fail leaving you at a Busybox shell. Just import the pool giving it the usual rpool name and exit.
zpool import -d /dev
zpool import rpoolUSB rpool
exit
8. Fix the bootloader and initial ramdisk
The boot process now works fine, but it complains about some missing things. What’s needed is a fix of the initial ramdisk and possibly of the GRUB bootloader, I did both just to be on the safe side.
sudo update-grub2
sudo update-initramfs -u -k all
9. Profit
Let me know if you actually profited from this. I think you owe me 1% of your profits 😁