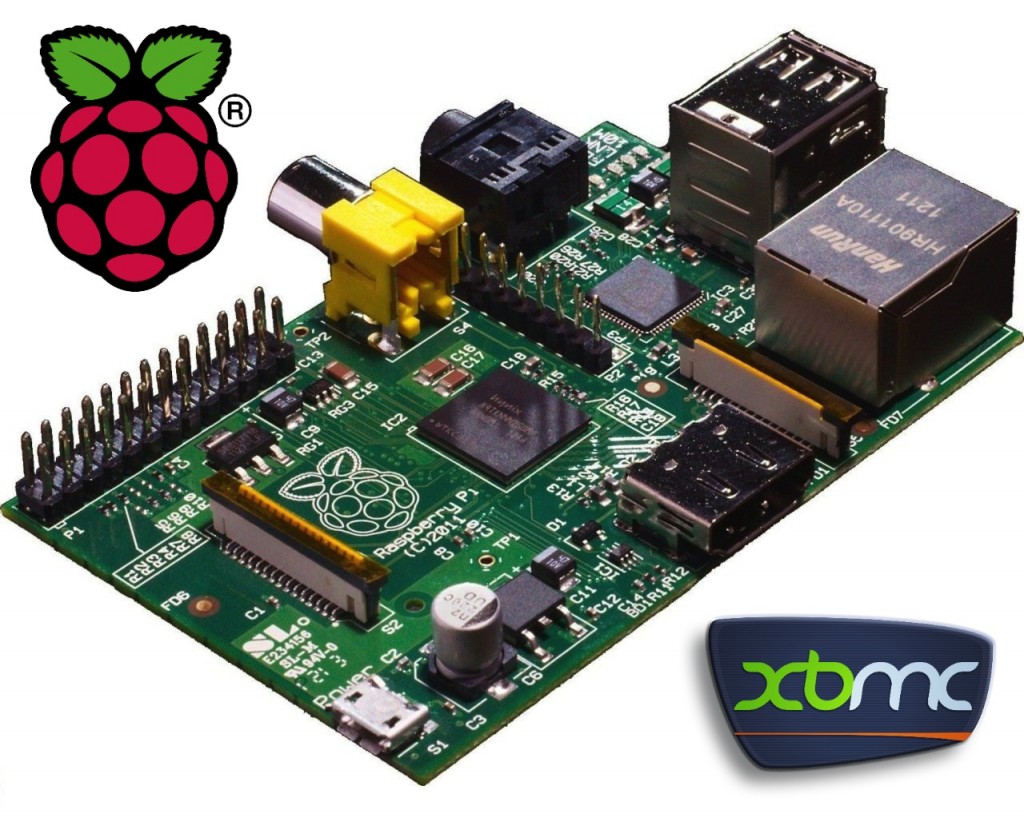
I’ve been using my Raspberry Pi with XBMC (using the awesome Raspbmc distro) for a while now, I even control it using my CEC-Compatible HDTV’s remote, but I pretty much always experienced stuttering while playing 1080p videos streaming from my home server, which was mounted on the Pi via NFS (directly through its /etc/fstab). I dismissed the issue telling myself “it’s just not powerful enough”. But that’s not really the case. Not always, at least.
A little background
The Pi has an onboard GPU capable of decoding 1080p H.264 video, but it has no hardware acceleration for audio, which often leads to issues. DTS and AC3 often are difficult beasts for the board’s underpowered processor, unless you have a TV which is capable of decoding them on its own, in which case you just have to enable DTS/AC3 passthrough in XBMC’s settings.
If you quickly google “raspberry xbmc stutter”, audio tracks are often mentioned as responsible for poor playback, and it usually helps to play stereo versions of the movie sound track, if available. I convert all my movies (which generally come in the form of MKV files) using iFlicks, in order to make them iTunes and iOS-friendly. It always creates an AAC-encoded stereo track for each language, so it’s always available to help the poor ARM chip.
A solution (for me)
Still, my 1080p files stuttered, while 720p played flawlessly. Just for the sake of curiosity, I tried copying one of these movies to an USB thumbdrive, and I attached it directly to the Raspberry Pi. To my surprise, it played smoothly.
I also noticed that playing the same file over HTTP (I also have a web server running on my home server), was just as good.
So it looked like NFS was the one causing troubles. I posted on STM Labs’ (the makers of Raspbmc) forum, and I was told to try to play around with NFS mount options in my /etc/fstab, since I was probably getting an insufficient throughput that caused stuttering. Well, that did the trick. After some trial and error, here is my “magic” line that gives me a great 11,7 Mb/s speed reading files from my NAS (that’s very close to the physical limit of the Pi’s 100 Mbit port, which is more than enough even for 1:1 BluRay rips).
192.168.1.77:/multimedia /thor nfs udp,noatime,rsize=32768,wsize=32768,nolock,nfsvers=3 0 0
You’ll have to adjust your server address, path and mount point, but the mount parameters will likely work for you as well.
OpenElec
UPDATE: Andrew T suggested a better way to configure OpenELEC to mount NFS shares at boot, you will find it in the comments below this post.
As MartinP pointed out in the comments, due to OpenElec’s root filesystem being mounted read-only, editing /etc/fstab isn’t possibile.
However, it is possibile to edit /storage/.config/autostart.sh to run the mount command at boot. As an example, you can edit it like this:
#!/bin/sh sleep 25 mount -t nfs 192.168.1.77:/multimedia /thor -o udp,noatime,rsize=32768,wsize=32768,nolock,nfsvers=3 |
As noted for /etc/fstab, adjust the server IP, share name and mount point as needed.

