My main computer is a 2020 M1 Mac mini, which is so small, quiet and cool that I can keep it in a drawer of my desk, which due to me living in a small apartment is located in my bedroom.
As part of my backup regime, I have an old 2.5” USB drive connected to it for Time Machine. The problem is that often my Mac would wake up in the middle of the night to perform a backup. That is nice, but it also means that the drive would start grinding, sometimes waking me up or preventing me to get asleep in the first place.
I was fed up with it, and I switched to a 1 TB SSD, which is totally silent, just like my Mac.
Having an entire drive dedicated to Time Machine only, though, was a bit excessive, and I wanted to be able to keep some files on it as well. I know I could just put them in the same APFS partition Time Machine is using, but given how finicky it can be at times, I preferred leaving it alone and resorting to a nice feature of APFS, which is having different volumes on the same disk. Volumes are not like partition, they are not fixed-size: they share all the available space on the drive. This way you cold have 10 volumes on a single 1 TB drive, and they all would see 1 TB of free space in the beginning.
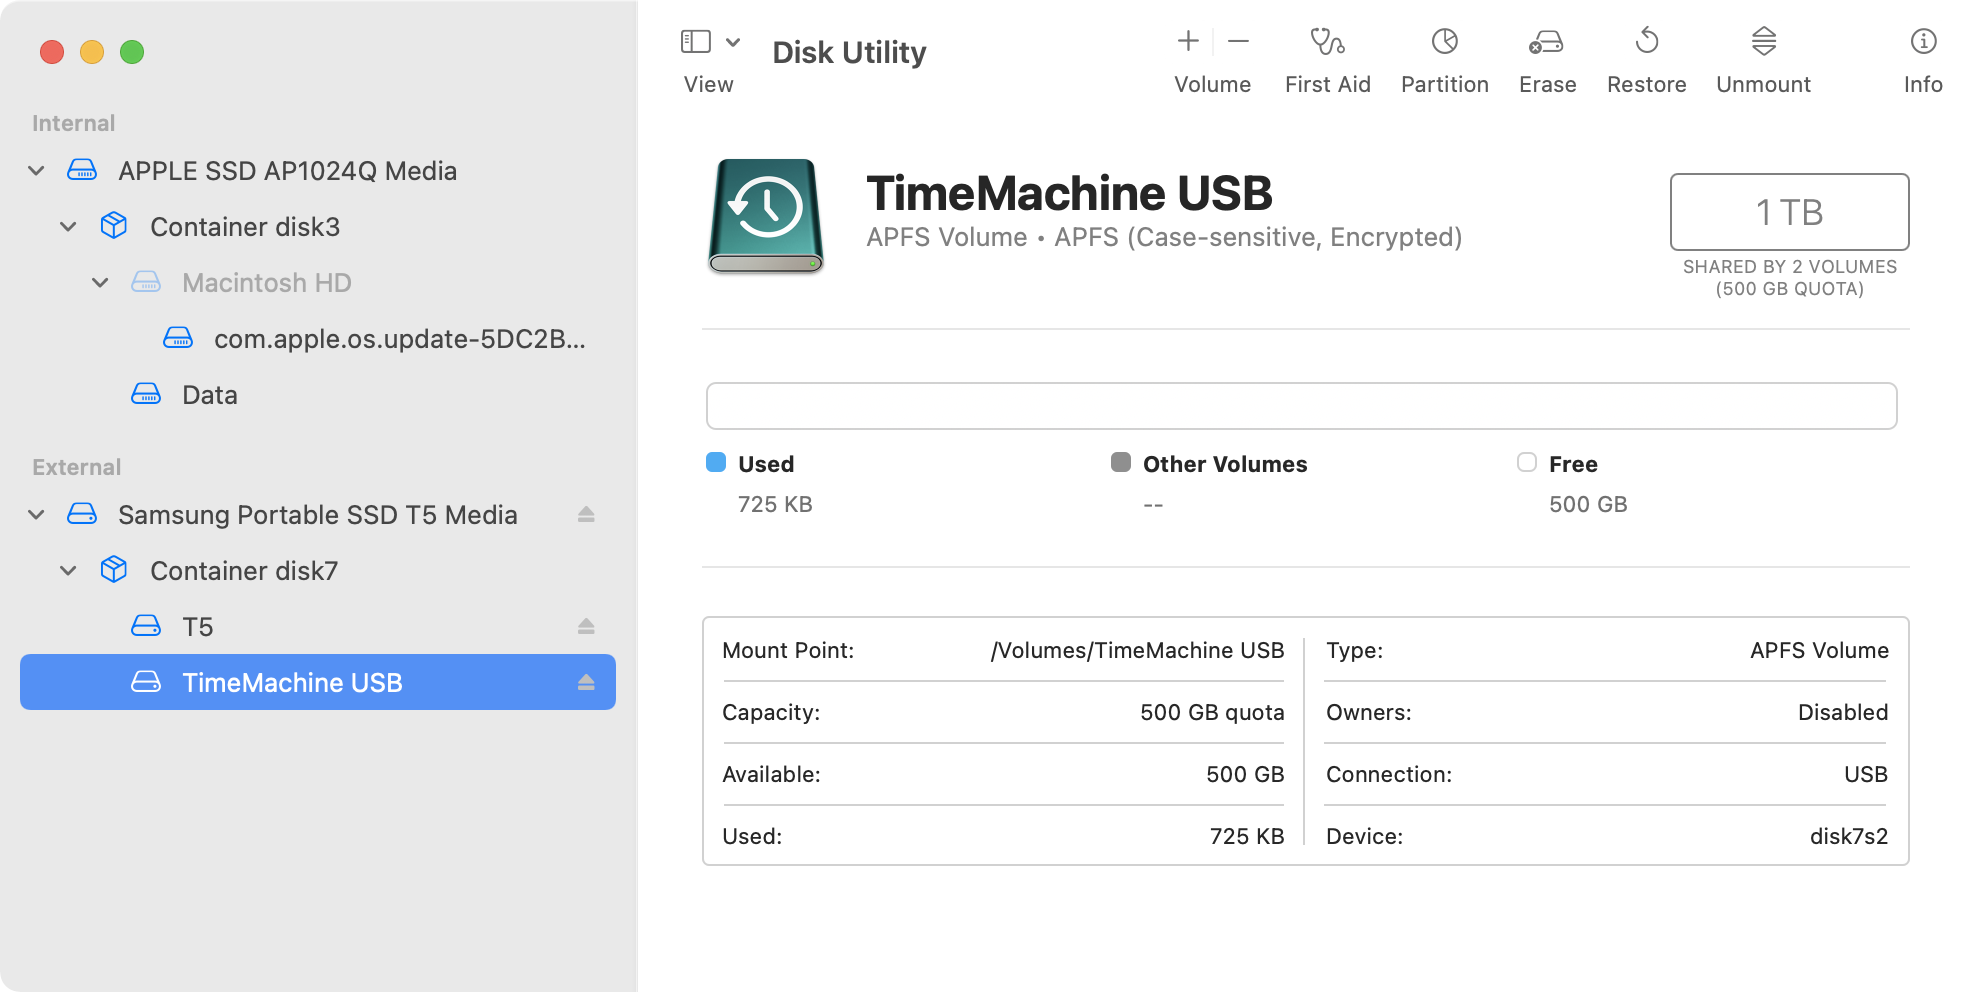
That is all great, and you can easily add volumes to an APFS drive thorough Disk Utility, you just have to select the drive from the sidebar and click the + button on the tool bar on the right. You also get a handy feature which I wanted to enable for my Time Machine volume: the ability to set a quota for that volume, which is basically a hard limit on the size of that volume. I wanted to make sure Time Machine could use at most 500 GB of the 1 TB, while allowing my data volume to use all the available space if necessary.

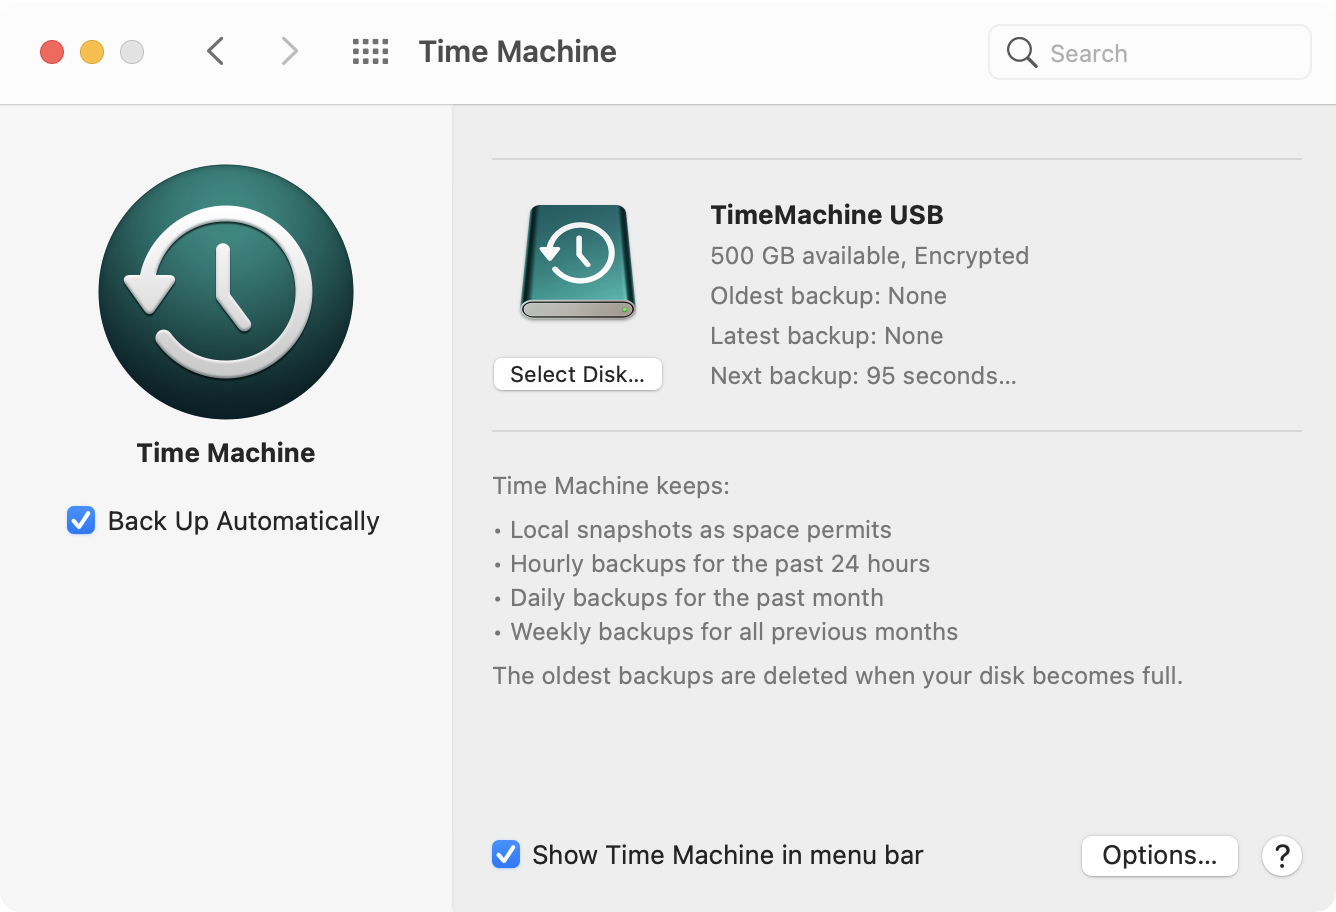
The problem is that when I went to the Time Machine preference pane and selected my newly created volume as its target, it would reformat it and remove its quota, thus giving it the ability to expand to the whole drive. What’s worse, it even erased all the contents of my other volume, which I’m afraid is a bug.
The solution, as always, was to resort to the Terminal. I found my answer in this helpful Stack Exchange thread: you have to add the volume using the diskutil command and applying the T role, which stands for Time Machine and will avoid having to erase the volume after selecting it as the destination drive.
diskutil ap addvolume disk7 APFSX 'TimeMachine USB' -passprompt -passphraseHint 1Password -quota 500g -role 'T'
You will, of course, need to replace disk7 with your disk identifier (which you can find in Disk Utility or through the diskutil list command). As you can see I’m also encrypting my volume and I am setting an hint, but if you don’t need that and are fine with your backups sitting in the clear on your drive, you can omit the -passprompt and the -passphraseHint options.
