About a week ago I rebuilt my Debian-based home server, finally replacing an old Pentium 4 PC with a more modern system (which has onboard SATA ports and gigabit ethernet, what an improvement!). It’s based on an Asrock B75 Pro-3M motherboard, an Ivy Bridge Pentium G2020 processor and 4 gigs of RAM.
I migrated all the drives I had in the old server, including the boot drive, so I didn’t have to configure much. The server has a 200 gb IDE boot drive (connected via a 5€ IDE-SATA converter I got off eBay) and 3×2 Tb WD20EARS 2 Tb “Green” drives configured in RAID-5.
Read speed was finally able to almost saturate my gigabit ethernet, but write speed was still disappointingly slow: about 35-40 megabytes/s via AFP and around 65 mb/s directly on the server.
I did some googling and found out the trick to improve my speeds: increase the stripe_cache_size from the default 256 to 16384. This required ~200 mb of extra RAM, but it was definitely worth it.
luca@thor:~$ free -m # With the default 256 stripe_cache_size total used free shared buffers cached Mem: 3734 830 2904 0 53 415 -/+ buffers/cache: 361 3372 Swap: 478 0 478 luca@thor:~$ free -m # With the 16384 stripe_cache_size total used free shared buffers cached Mem: 3734 1034 2699 0 53 415 -/+ buffers/cache: 566 3167 Swap: 478 0 478 |
The stripe_cache_size parameter resides in the /sys/block/md0/md/ directory (assuming md0 is your RAID device). To change it, just launch:
echo 16384 | sudo tee /sys/block/md0/md/stripe_cache_size |
Here you can see some read and write speed tests I did with both settings, the difference is quite noticeable:
luca@thor:~$ dd if=/multimedia/Film/Star\ Wars\ 5\ -\ L\'impero\ colpisce\ ancora.m4v of=/dev/zero # Read speed test 3944449+0 record dentro 3944448+0 record fuori 2019557376 byte (2,0 GB) copiati, 15,0903 s, 134 MB/s luca@thor:~$ dd if=/dev/zero of=/multimedia/write_test_with_256_cache # Write speed test 1865418+0 record dentro 1865418+0 record fuori 955094016 byte (955 MB) copiati, 14,2123 s, 67,2 MB/s |
luca@thor:~$ dd if=/multimedia/Film/Star\ Wars\ 6\ -\ Il\ ritorno\ dello\ Jedi.m4v of=/dev/zero # Read speed test 6319777+0 record dentro 6319776+0 record fuori 3235725312 byte (3,2 GB) copiati, 16,8187 s, 192 MB/s luca@thor:~$ dd if=/dev/zero of=/multimedia/write_test_with_16384_cache # Write speed test 3424244+0 record dentro 3424244+0 record fuori 1753212928 byte (1,8 GB) copiati, 15,0716 s, 116 MB/s |
As you can see read speed increased from 134 to 192 MB/s (+43%) and write speed almost doubled, going from 67 to 116 MB/s (+73%). Now I get around 80 MB/s of write speed over AFP (+100%), and still manage to saturate the gigabit link reading from the server.
The last step was to make the change permanent. To do so, I edited my /etc/rc.local and made it executable. Just add this line into it:
echo 16384 | tee /sys/block/md0/md/stripe_cache_size |
No sudo needed here since /etc/rc.local is run by root already. Make the file executable so it is run at each boot, and you’re done:
sudo chmod +x /etc/rc.local |
That’s it!
You can find more useful info about tuning your array in this article by Tor Henning Ueland, and some suggestions on how to properly align 4k-sector drives (such as Western Digital Green and Red ones) in this outstanding post by Dennis Fleurbaaij: i rebuilt my array aligning my partitions properly (note: you have to completely delete and re-create your array to do so) and now I have 190 mb/s both in read and write speed from 3 WD20EARS Green drives, which I’ll replace with 2 Tb Western Digital Red drives, which are faster and are more power efficient.
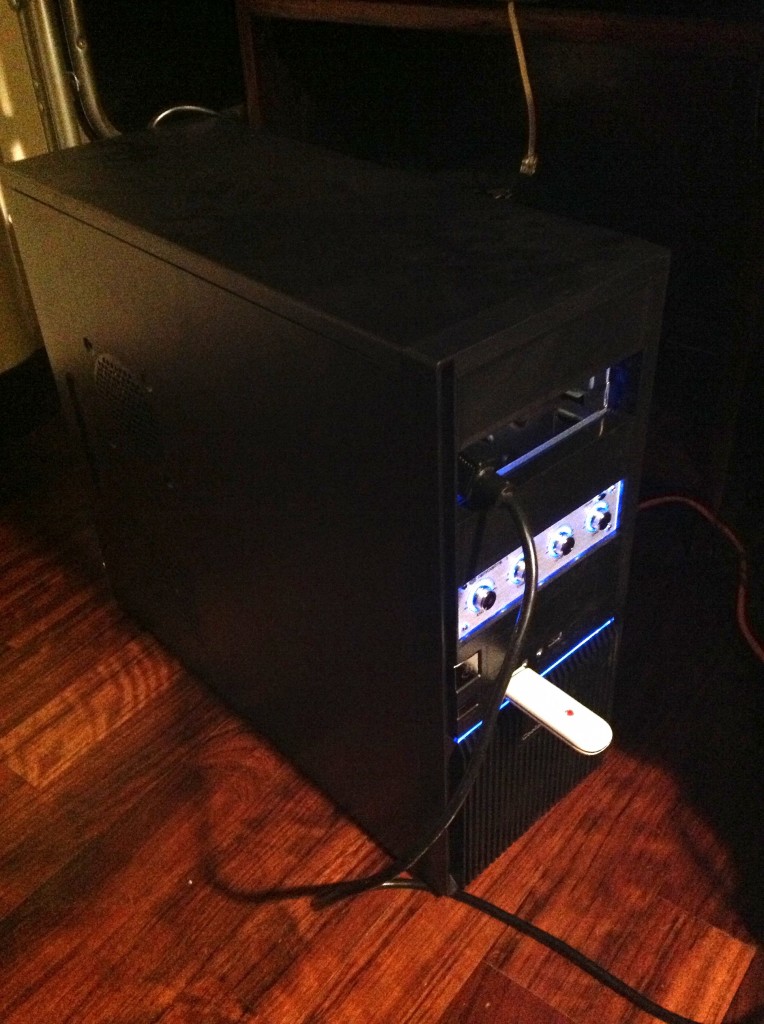
I’ll end this post with a photo of my server. The cable that runs into the front of the PC was the power cable for the USB IDE enclosure I used before I got the IDE-SATA converter. The 3G dongle is used both as a GSM gateway for Asterisk (I’ll talk about that in a future article) and as a backup internet connection in case the main one goes down.
2 replies on “Improve software RAID speeds on Linux”
[…] But that didn’t work. So i did some more research and found out about a thing called strip cache size. It was only set to 256 bytes! So I enlarged that to 16k and my performance jumped up to about 8 […]
[…] stripe cache size.1)Improve software RAID speeds on Linux jQuery("#footnote_plugin_tooltip_1").tooltip({ tip: "#footnote_plugin_tooltip_text_1", tipClass: […]